
A laboratory sample tray may hold tubes, plates, cartridges, vials or prepared specimens, but its buying risk is not limited to whether the cavity fills. The tray must support the intended workflow, preserve orientation, tolerate the stated cleaning or reagent exposure, arrive clean enough for its defined use and stack without damaging samples or jamming downstream handling. Small details such as nest geometry, label access, rim flatness, gate vestige, flash and pack-out can therefore matter as much as the resin family.
Buyers should give the supplier a use-and-evidence brief rather than asking for a generic medical molding quote. Define the sample format, workflow fixtures, chemical exposure, cleanliness boundary, stacking pattern, inspection method and packaging route before tooling is released. InjeForm’s [medical and laboratory molding](/products/medical-laboratory) application page can frame the discussion; send the controlled package through [request a quote](/request-a-quote) for a project-specific review.
Do not approve a tray because it looks clean and fits one sample. Approve the defined tray, fixture, resin, exposure, stacking and inspection condition with evidence tied to the intended workflow.
01
1. Define the tray’s job in the laboratory workflow
Start with the complete handling sequence: loading, identification, transport, temporary storage, instrument presentation, unloading and disposal or reuse. State whether the tray is a primary sample-contact surface, a secondary carrier, a pipetting or inspection fixture, or only a shipping and staging aid. These boundaries change the required material, surface, cleaning, packaging and validation discussion. Include the sample dimensions, orientation, quantity per tray, allowable movement, barcode or label zones and the operator or automation interface.
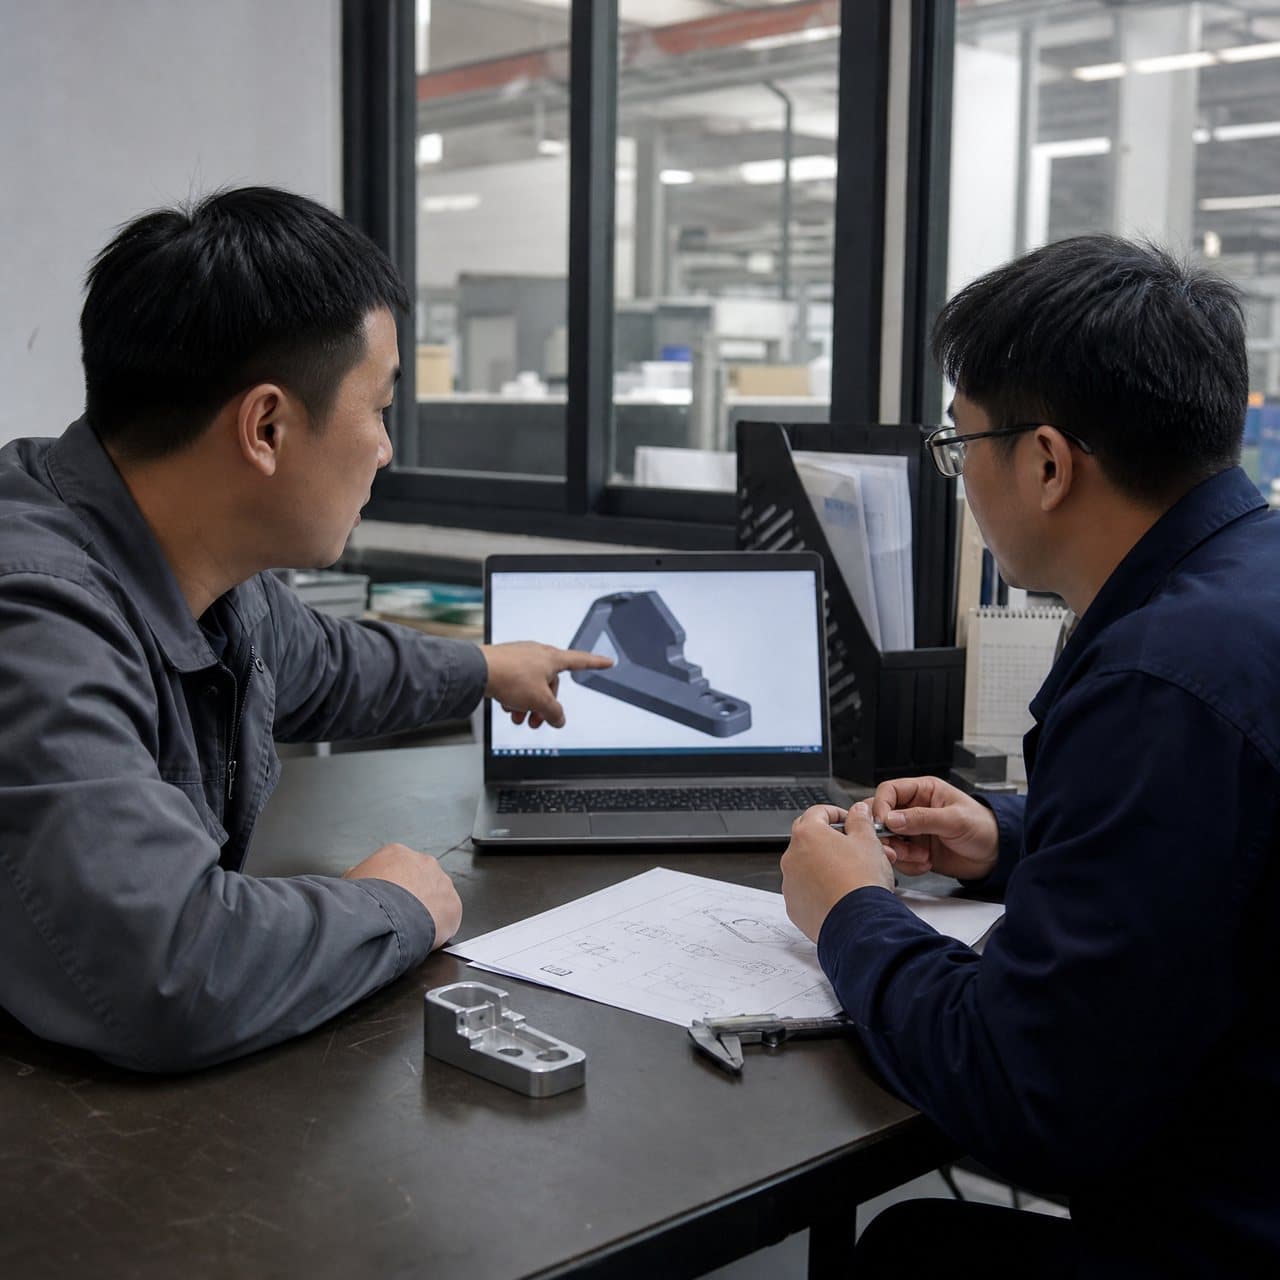
Show mating hardware instead of describing it only in an email. Provide the tube rack, plate, cartridge, lid, instrument nest, conveyor, gripper, drawer or cart that the tray must enter. Identify the functional datums, locating ribs, retention points, access windows and surfaces that may not be obstructed by a gate or ejector mark. InjeForm’s [DFM and mold-design](/injection-mold-design-dfm) review can then connect workflow intent to draft, wall transitions, ejection and tool parting decisions.
| Workflow input | What the buyer should provide | Sourcing risk if omitted |
|---|---|---|
| Sample interface | Sample type, dimensions, orientation, count, clearance and contact zones. | A tray may hold the sample but fail loading, retrieval or instrument fit. |
| Fixture interface | Mating nest, rack, conveyor, gripper, drawer or instrument envelope. | Locating features can interfere with equipment or create manual workarounds. |
| Identification | Barcode, label, writing, camera and scan access requirements. | Ribs, gloss, texture or shadows may reduce reliable identification. |
| Handling state | Loaded, empty, wet, lidded, transported, stored or disposable condition. | A successful molded part may still be unstable in the real workflow. |
| Release decision | Functional checks, visual limits, dimensions and retained evidence. | Supplier and buyer may apply different definitions of an acceptable tray. |
02
2. Translate chemical exposure into a material decision
List every relevant exposure by chemical identity, concentration or formulation where known, temperature, contact time, repetition, wiping or immersion method and mechanical load during exposure. Include disinfectants, detergents, alcohols, acids, bases, stains, buffers, oils and sample residues only when they are genuinely present in the use route. A broad statement such as “chemical resistant” is not a qualification: compatibility depends on the exact resin grade, stress, temperature, exposure duration and cleaning practice.
For a tray, the highest-risk location may be a clipped corner, thin nest wall, snap, weld line or stressed stacking rim rather than a flat panel. Ask the supplier to identify the proposed grade, colourant and approved alternatives, then obtain current resin-maker data and define representative testing with the product owner. PP may be a sensible direction for some general workflow trays, while PC, ABS or reinforced grades can bring different impact, stiffness, appearance or chemical trade-offs; no family should be approved from a label alone. The [quality](/quality) discussion should record what is tested, by whom and against which acceptance rule.
| Exposure scenario | Buyer question | Evidence to request before release |
|---|---|---|
| Routine wipe or spray | What agent, concentration, temperature and number of cycles are expected? | Exact grade and colourant, supplier compatibility basis and agreed visual or functional check. |
| Short liquid contact | Does liquid collect in nests, corners or under a sample? | Representative contact test with stressed features and post-test dimensional or visual review. |
| Repeated cleaning | Is the tray reused, and how is cleaning controlled at the user site? | Cleaning instruction, cycle assumption, inspection trigger and change-control route. |
| Unknown or changing reagent | Who owns the decision when the formulation changes? | Approved-exposure list and notification or requalification responsibility. |
| High-consequence contact | Could failure contaminate a sample or interrupt a validated workflow? | Product-specific risk assessment and validation plan from the product owner or legal manufacturer. |
03
3. Specify cleanliness as a controlled handoff
Use a measurable cleanliness brief, not a request for “medical-grade” or “cleanroom quality.” State whether the concern is visible particles, loose flash, oil, mold-release residue, non-volatile residue, bioburden, endotoxin, extractables, packaging debris or another customer-defined limit. Also describe where the tray enters the process: open bench, controlled assembly, fluid path, sterile barrier, analytical instrument or ordinary logistics. The required control depends on that boundary, and a cleanroom classification alone does not prove product sterility, bioburden control or chemical cleanliness.
Ask the molder to map the route from resin receipt through molding, demolding, inspection, cleaning if any, packing and shipment. Review machine and tool changeover, lubricant control, operator handling, part separation, reject segregation, packaging materials and storage. Request the sampling method, limits, records and reaction plan that apply to the agreed requirement. InjeForm can support a [process](/process) review, but the buyer and product owner must define the final cleanliness and validation obligations rather than treating a supplier certificate as automatic approval.

04
4. Design stacking, nesting and pack-out together
Stacking is a product requirement, not merely a warehouse preference. Define loaded and empty stack height, maximum stack quantity, orientation, interlock or separator concept, allowable compression, transport vibration, humidity exposure, pallet pattern and the surfaces permitted to touch. Check whether the tray’s rims, nests, corners, labels or thin walls carry the load. A visually acceptable empty tray may warp, scuff a critical surface or transfer force to samples when stacked in the actual configuration.
Specify the receiving condition as well as the shipping carton. The RFQ should state inner-pack quantity, separators or bags, protection from dust, lot segregation, carton compression concerns, barcode placement and whether the receiver feeds parts directly into a lab or automated line. Ask for a pack-out drawing or photographs and a practical stack trial using representative trays and sample substitutes. Packaging material must also be compatible with the defined cleanliness requirement; extra film or foam is not automatically safer.
Use the [injection molding export documents and Incoterms](/injection-molding-export-documents-incoterms) route when shipment responsibility, export packing or destination handoff is part of the programme. The supplier should identify assumptions, while the contract and logistics providers determine the applicable Incoterm, import obligations and transport controls.
| Stacking decision | Why it affects molding and sourcing | Buyer evidence |
|---|---|---|
| Nest and demold geometry | Draft, ribs and locating features can determine whether trays separate cleanly or lock together. | DFM view, stack sample and separation-force or usability criterion where needed. |
| Loaded stack | Samples can change the load path, centre of gravity and allowable compression. | Representative loaded-stack trial and defined maximum quantity. |
| Contact surfaces | Rubbing can mark cosmetic faces, create particles or damage labels and datums. | Marked contact map, visual standard and pack-out protection method. |
| Transport pack | Vibration, carton compression and humidity can expose weak rims or unstable stacks. | Pack-out drawing, carton specification and shipment simulation or agreed check. |
| Receiving release | The lab may need count, lot, cleanliness and orientation evidence at receipt. | Packing list, lot identity, inspection status and receiving instructions. |
05
5. Request evidence that matches the tray’s release gate
A tray RFQ should separate tooling, samples, inspection, testing, packaging and recurring supply. Attach the controlled CAD and drawing, sample and fixture interfaces, material direction, exposure matrix, cleanliness specification, stack pattern, forecast, destination and requested records. Ask the supplier to return its proposed cavity and gate strategy, resin grade, colour route, inspection method, sample quantity, pack-out concept, exclusions and assumptions. Keep provisional design decisions visible rather than allowing them to become hidden quote conditions.
At first trial and production release, inspect the features that govern the workflow: nest dimensions, flatness or warpage, stack height, separation, fit in the mating fixture, label or scan access, flash and gate vestige, visible contamination, colour and any agreed exposure or cleaning result. Identify cavity, resin lot, tool revision and sample condition in the report. For a medical or laboratory product, the legal manufacturer or product owner remains responsible for applicable validation and market requirements; the molder supplies only the agreed manufacturing evidence. Use [request a quote](/request-a-quote) to ask for a scoped response rather than an unsupported compliance promise.

Practical takeaway
Before you move
to the next review.
- Provide the sample format, workflow sequence, mating fixture, identification zones and critical tray interfaces in the RFQ.
- Map chemical and cleaning exposure by exact agent, concentration, temperature, duration, repetition and mechanical stress.
- Define cleanliness in measurable terms and assign product, validation, testing, packaging and change-control responsibilities.
- Specify empty and loaded stacking, contact surfaces, separators, transport pack-out, receiving condition and lot segregation.
- Tie tooling release and production approval to identified dimensions, fit, stack, visual, cleanliness, material and exposure evidence.
FAQ
Common questions
What should I include in an RFQ for a laboratory sample tray?
Include controlled CAD and drawing files, sample and fixture interfaces, workflow sequence, material direction, chemical and cleaning exposure, cleanliness criteria, stack pattern, forecast, packaging, destination and required inspection or test records.
Is polypropylene always the best material for a laboratory sample tray?
No. PP can suit some general workflow trays, but the right grade depends on stiffness, impact, dimensional stability, colour, cleaning, chemical exposure, stress and the intended validation plan. Confirm the exact grade with the resin supplier and product owner.
Does a cleanroom-produced tray automatically meet laboratory cleanliness needs?
No. Cleanroom classification addresses environmental airborne particles; it does not by itself prove product cleanliness, sterility, bioburden, endotoxin or residue limits. Define the applicable product requirement and evidence separately.
How should buyers validate sample tray stacking?
Test the agreed empty and loaded configuration with representative trays, samples or suitable substitutes. Check stack height, stability, compression, separation, scuffing, warpage, label access and receiving condition under the intended handling route.
Should a molding supplier approve the tray for laboratory use?
The supplier can review moldability and provide agreed manufacturing evidence, but the product owner or legal manufacturer must define intended use, validation, cleanliness, chemical compatibility and applicable market requirements.
References
Source material
- [1] International Organization for Standardization, “ISO 14644-1:2015 Cleanrooms and associated controlled environments — Part 1: Classification of air cleanliness by particle concentration.”
- [2] U.S. Food and Drug Administration, “Quality Management System Regulation (QMSR).”
- [3] U.S. Food and Drug Administration, “Process Validation: General Principles and Practices.”
- [4] International Organization for Standardization, “ISO 20457:2026 Plastics moulded parts — Tolerances and acceptance conditions.”
- [5] BASF, “Ultradur® and Ultramid® processing and material information.”
This guide is general information for early procurement and engineering discussion. It does not replace product-specific DFM, qualification, validation, regulatory assessment or legal advice.