
Buyers should maintain a micro injection mold through a documented preventive plan and treat each repair as a controlled change. Do not restart because the tool closes or a sample merely looks acceptable. Confirm the cause, verify the repaired feature, mold representative parts using defined material and settings, and compare CTQs and function with the approved baseline. In micro injection molding, a minute change to a vent, gate, pin, cavity edge, surface, or alignment can affect fill, flash, release, and dimensional stability.
Set service intervals from shot count, resin, operating conditions, defect history, and tool-specific guidance. Do not polish, weld, or alter a micro feature without a defined scope and requalification plan.
01
Why micro injection mold maintenance needs a separate buyer plan
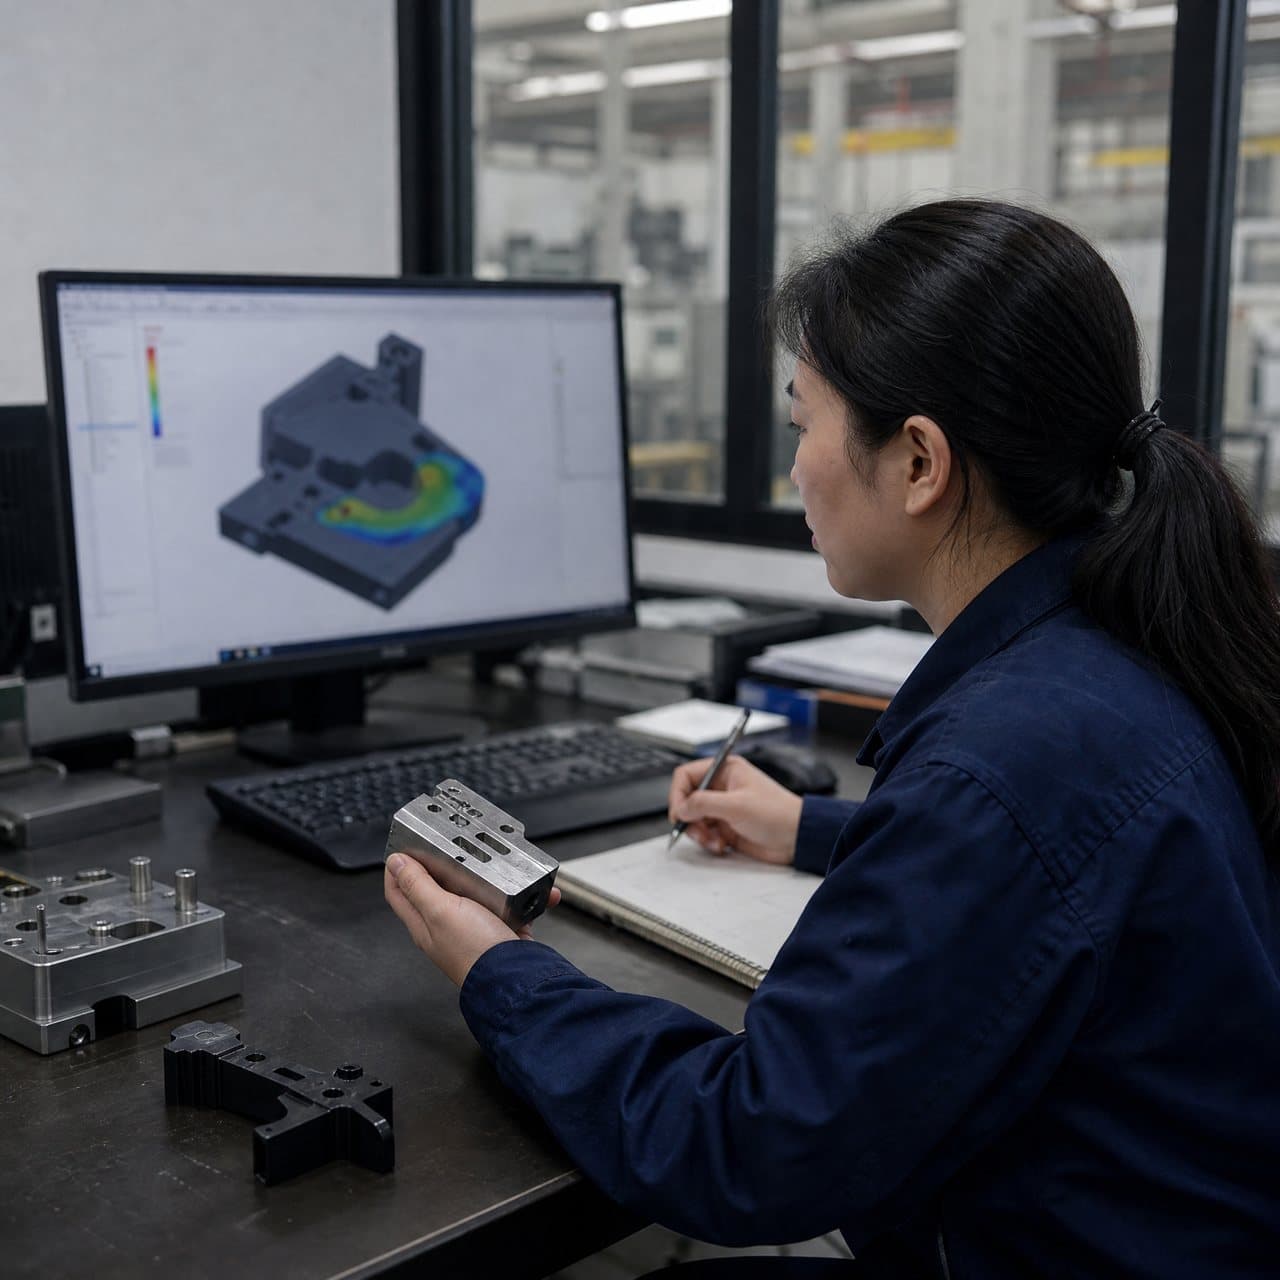
Micro injection molding concentrates risk in small details. Fine cores, thin shutoffs, tiny vents, gates, and micro ejectors can be damaged or obstructed by residue that may be inconsequential on a larger tool. Small shot volumes also heighten sensitivity to resin condition and process variation. Micro tooling relies on delicate venting and demolding features, so a minor alignment or process shift can create flash or dimensional variation [3].
Not every small part needs a claimed micrometre tolerance. Set each tolerance, sampling condition, inspection method, and acceptance limit from the drawing and function. Agree CTQs, measurement uncertainty, and whether vision, CMM, micro-CT, functional gauging, or another method is appropriate. A transferable record of tool data, approved resin, reference settings, inspection method, repairs, and change approvals helps an overseas team separate process drift from tooling trouble.
02
Build preventive maintenance around the tool’s actual duty
Create a tool-specific maintenance matrix for cavities and inserts, vents, gates and runners, ejection, guides, cooling circuits, and any sensors or hot-runner elements. Define approved cleaning and lubrication, restricted surfaces, disassembly authority, and release evidence.
At run end, record shot count, resin and lot, alarms, defects, and relevant temperature or pressure trends. Clean with a compatible method, dry the tool, protect it from corrosion, and show its storage status. Industry guidance likewise calls for inspection of vents, gates, runners, and molds; restrained lubrication; maintenance records; and dry protected storage [1]. Add event triggers after material changes, extended storage, repeated stops, abnormal ejection, or cavity-to-cavity variation.
03
Separate process troubleshooting from injection mold repair
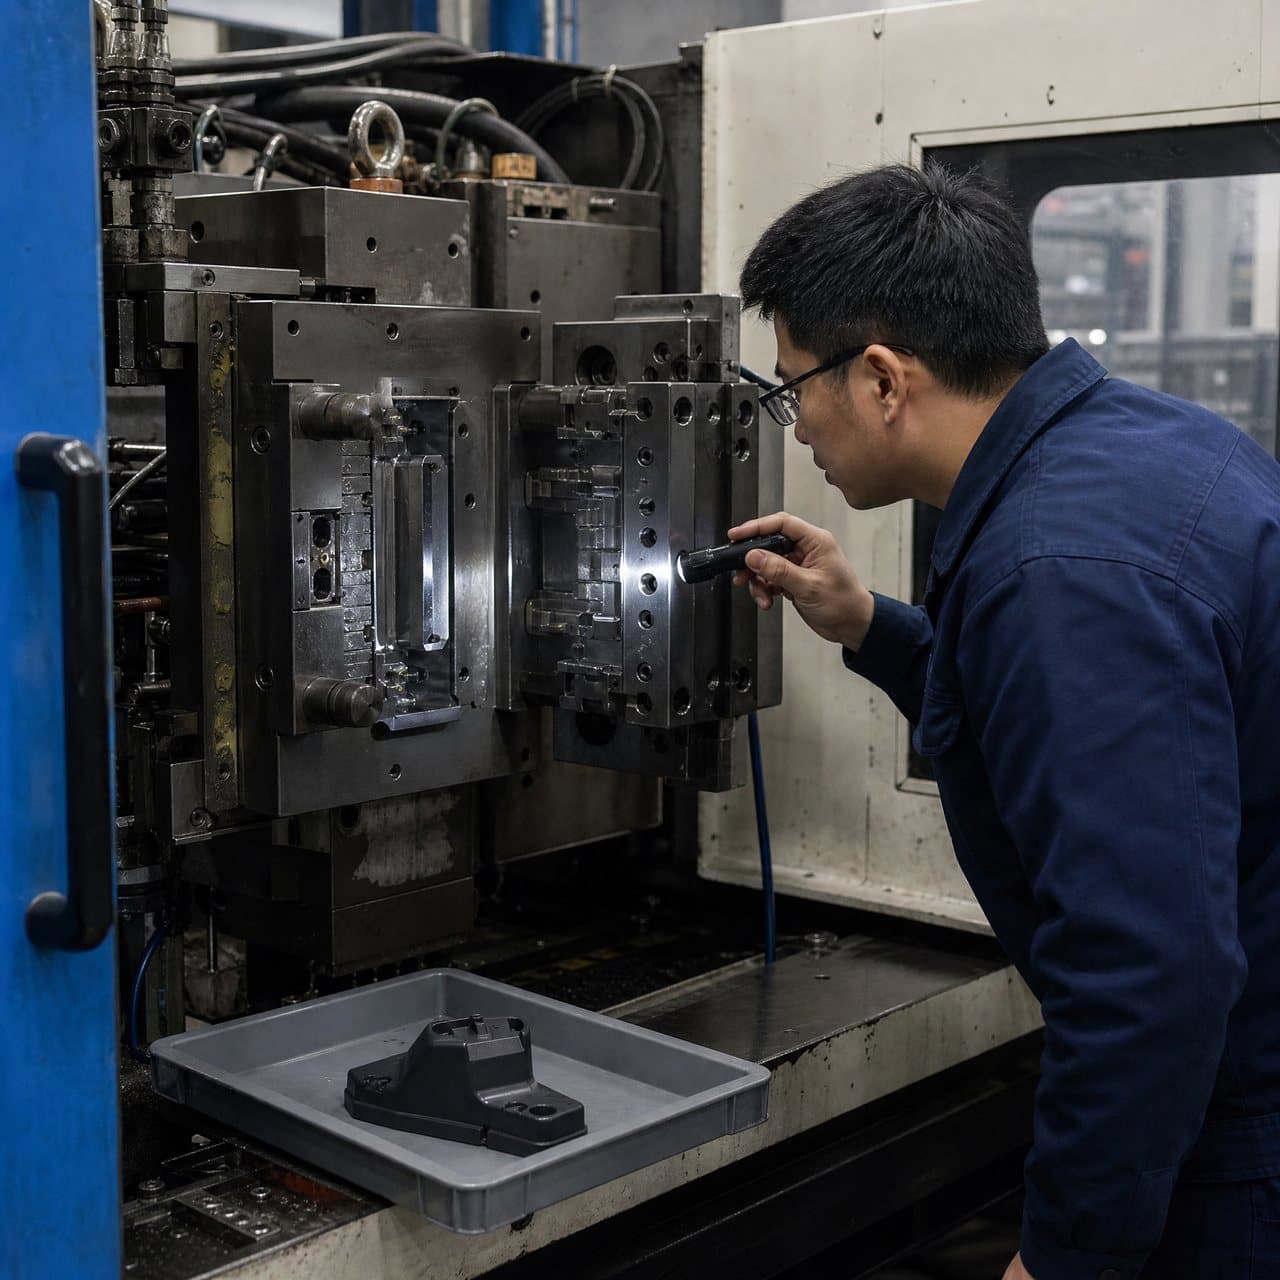
Contain suspect output. Compare the defect with the last accepted baseline: material and conditioning, machine and mold settings, cycle data, cavity, measurement method, and recent handling. Short shots, flash, drag, burns, and CTQ drift may arise from resin, machine, process, cooling, ejection, alignment, venting, or the cavity. Altering steel before this review can hide the cause.
If the evidence points to the tool, issue a repair authorization naming the feature, defect, cause, permitted method, revision, and post-repair acceptance plan. Normal repair scopes include cavity/core, venting, alignment, ejector, and hot-runner work [2]. Photograph condition before and after work. Welding, EDM, polishing, hand fitting, or an insert replacement may change flow, release, texture, geometry, or heat transfer; a new insert can be more controllable than repeated rework.
| Signal | First check | Controlled action | Restart evidence |
|---|---|---|---|
| Flash at a fine shutoff | Is process, alignment, venting, or steel damage responsible? | Quarantine parts; inspect before polishing or welding. | Repair record, feature inspection, cavity-traced CTQ and functional samples. |
| Blocked micro feature or incomplete fill | Did resin, gate/vent residue, pressure, or contamination change? | Verify material and process; clean or restore the confirmed restriction. | Trial in specified resin, metrology or visual result, baseline comparison. |
| Drag, sticking, or deformation | Is ejection, surface, temperature, or handling responsible? | Inspect ejectors and surfaces; replace confirmed worn elements. | Ejection observation, cosmetic review, conditioned dimensional check. |
| CTQ drift without a visible defect | Is the measurement method controlled and change real? | Confirm gauge and conditioning; review cavity and cooling data. | Measurement-system confirmation and risk-based first-article approval. |
04
Require dimensional evidence after a repair or modification
Match evidence to repair risk. A spring replacement may need a limited functional check. A cavity insert, weld near a sealing feature, vent or gate work, or micro-channel correction generally needs a controlled trial. Before molding, confirm the repaired component, tool assembly, cooling or heating connections, and approved resin and process reference.
Inspect the repaired location and affected part features, with cavity traceability for multi-cavity tools. Record sample size and conditioning, datum strategy, calibrated equipment, actual values, visual results, and functional testing where relevant. For micro features, inspection capability must suit the feature: industry guidance highlights vision systems and micro-CT among the methods used where ordinary gauging is unsuitable [3]. Compare with the approved baseline, not only nominal dimensions. A repair alone does not prove former life, cycle time, or capacity.
05
Make supplier collaboration part of production tooling control
Name technical owners for buyer and supplier. Agree defect escalation, emergency containment, repair authority, and changes needing approval. Maintain a transferable digital tool file: drawings, parts list, repair history, photos, inspection reports, approved trial data, storage instructions, and ownership or transfer requirements.
Plan realistic spares. Identify wear-critical pins, springs, seals, heaters, thermocouples, nozzles, inserts, or standard elements; define interchangeability and inspection after replacement. Request an RFQ from InjeForm with CAD, drawing, CTQs, resin and colour, volumes, cavity preference, failure history, required evidence, and desired service scope. This supports a practical discussion of manufacturability, access, spares, and validation without unverified performance promises.

Practical takeaway
Before you move
to the next review.
- Provide current CAD, drawing revision, CTQs, datums, and functional acceptance before authorizing work.
- Request shot count, repair history, storage condition, resin history, cavity map, and defect photographs.
- Require root-cause review of material, machine, process, measurement, cooling, ejection, and tooling before altering steel.
- Approve the repair method before welding, polishing, EDM, vent work, insert replacement, or geometry change.
- Specify trial resin, conditioning, cavity traceability, measurement method, samples, and release authority.
- Keep repair scope, replaced parts, inspection, trial settings, deviations, and approvals in the controlled tool record.
FAQ
Common questions
How often should a micro injection mold be maintained?
Use shot count plus resin, cycle severity, defect history, feature sensitivity, storage time, and supplier guidance. Add event-based checks after abnormal defects, material changes, or extended storage.
Can a micro cavity be welded and reused?
Sometimes. Location, steel, heat treatment, surface requirement, geometry, and inspectability decide whether welding or a replacement insert is more controllable. Require approval and risk-appropriate part validation.
What proof should buyers request after injection mold repair?
Request repair scope, cause assessment, condition evidence, replaced-part identity, and trial results. For CTQs, add cavity-traced samples, the agreed measurement report, and comparison with baseline.
Does repair change production tooling life or output?
Not automatically. Any revised life, cycle-time, or capacity expectation needs its own documented engineering and commercial review.
References
Source material
- [1] Slide Products, Preventive Maintenance Guide for Injection Molding
- [2] MPP Corporation, Injection Mold Repair and Maintenance
- [3] Fictiv, Micro Injection Molding: Materials, Design, Tolerances & Applications
This guide is general information for early procurement and engineering discussion. It does not replace product-specific DFM, qualification, validation, regulatory assessment or legal advice.