
Select a micro injection molding machine for repeatable metering, injection response, mold fit, thermal control and measurable part stability before looking at headline tonnage. Injection molding machine tonnage only has to resist cavity pressure across the projected area; it does not prove that a press can make a tiny shot consistently. Ask the supplier to connect the part drawing, resin data, tool concept, process window and inspection plan in one review. That gives a buyer usable evidence for a miniature connector, optical support, fluidic feature or other precision injection molding part.
For micro parts, a press that is merely large enough to close the mold is not necessarily small or controlled enough to meter, fill, pack and document the shot reliably.
01
Start with the micro feature, not the press nameplate
Micro injection molding is a process-selection problem, not conventional molding on a smaller machine. Identify the smallest functional feature, total molded mass, permitted flash, datums and failure-critical feature. A small part can still have a restrictive gate, microchannel or fragile core. These details drive injection response, venting and release.
Provide native CAD, a dimensioned drawing and the intended resin grade or material family. Mark critical-to-function features rather than applying one aggressive tolerance everywhere. Capability depends on geometry, resin shrinkage, tool construction, cavity count, process control and measurement method.
Treat the mold as part of machine selection. Confirm nozzle, locating-ring, platen, daylight, tie-bar, ejector and utility interfaces. Fine gates, vents, core support, cooling and gentle ejection can matter more than a larger clamp.
02
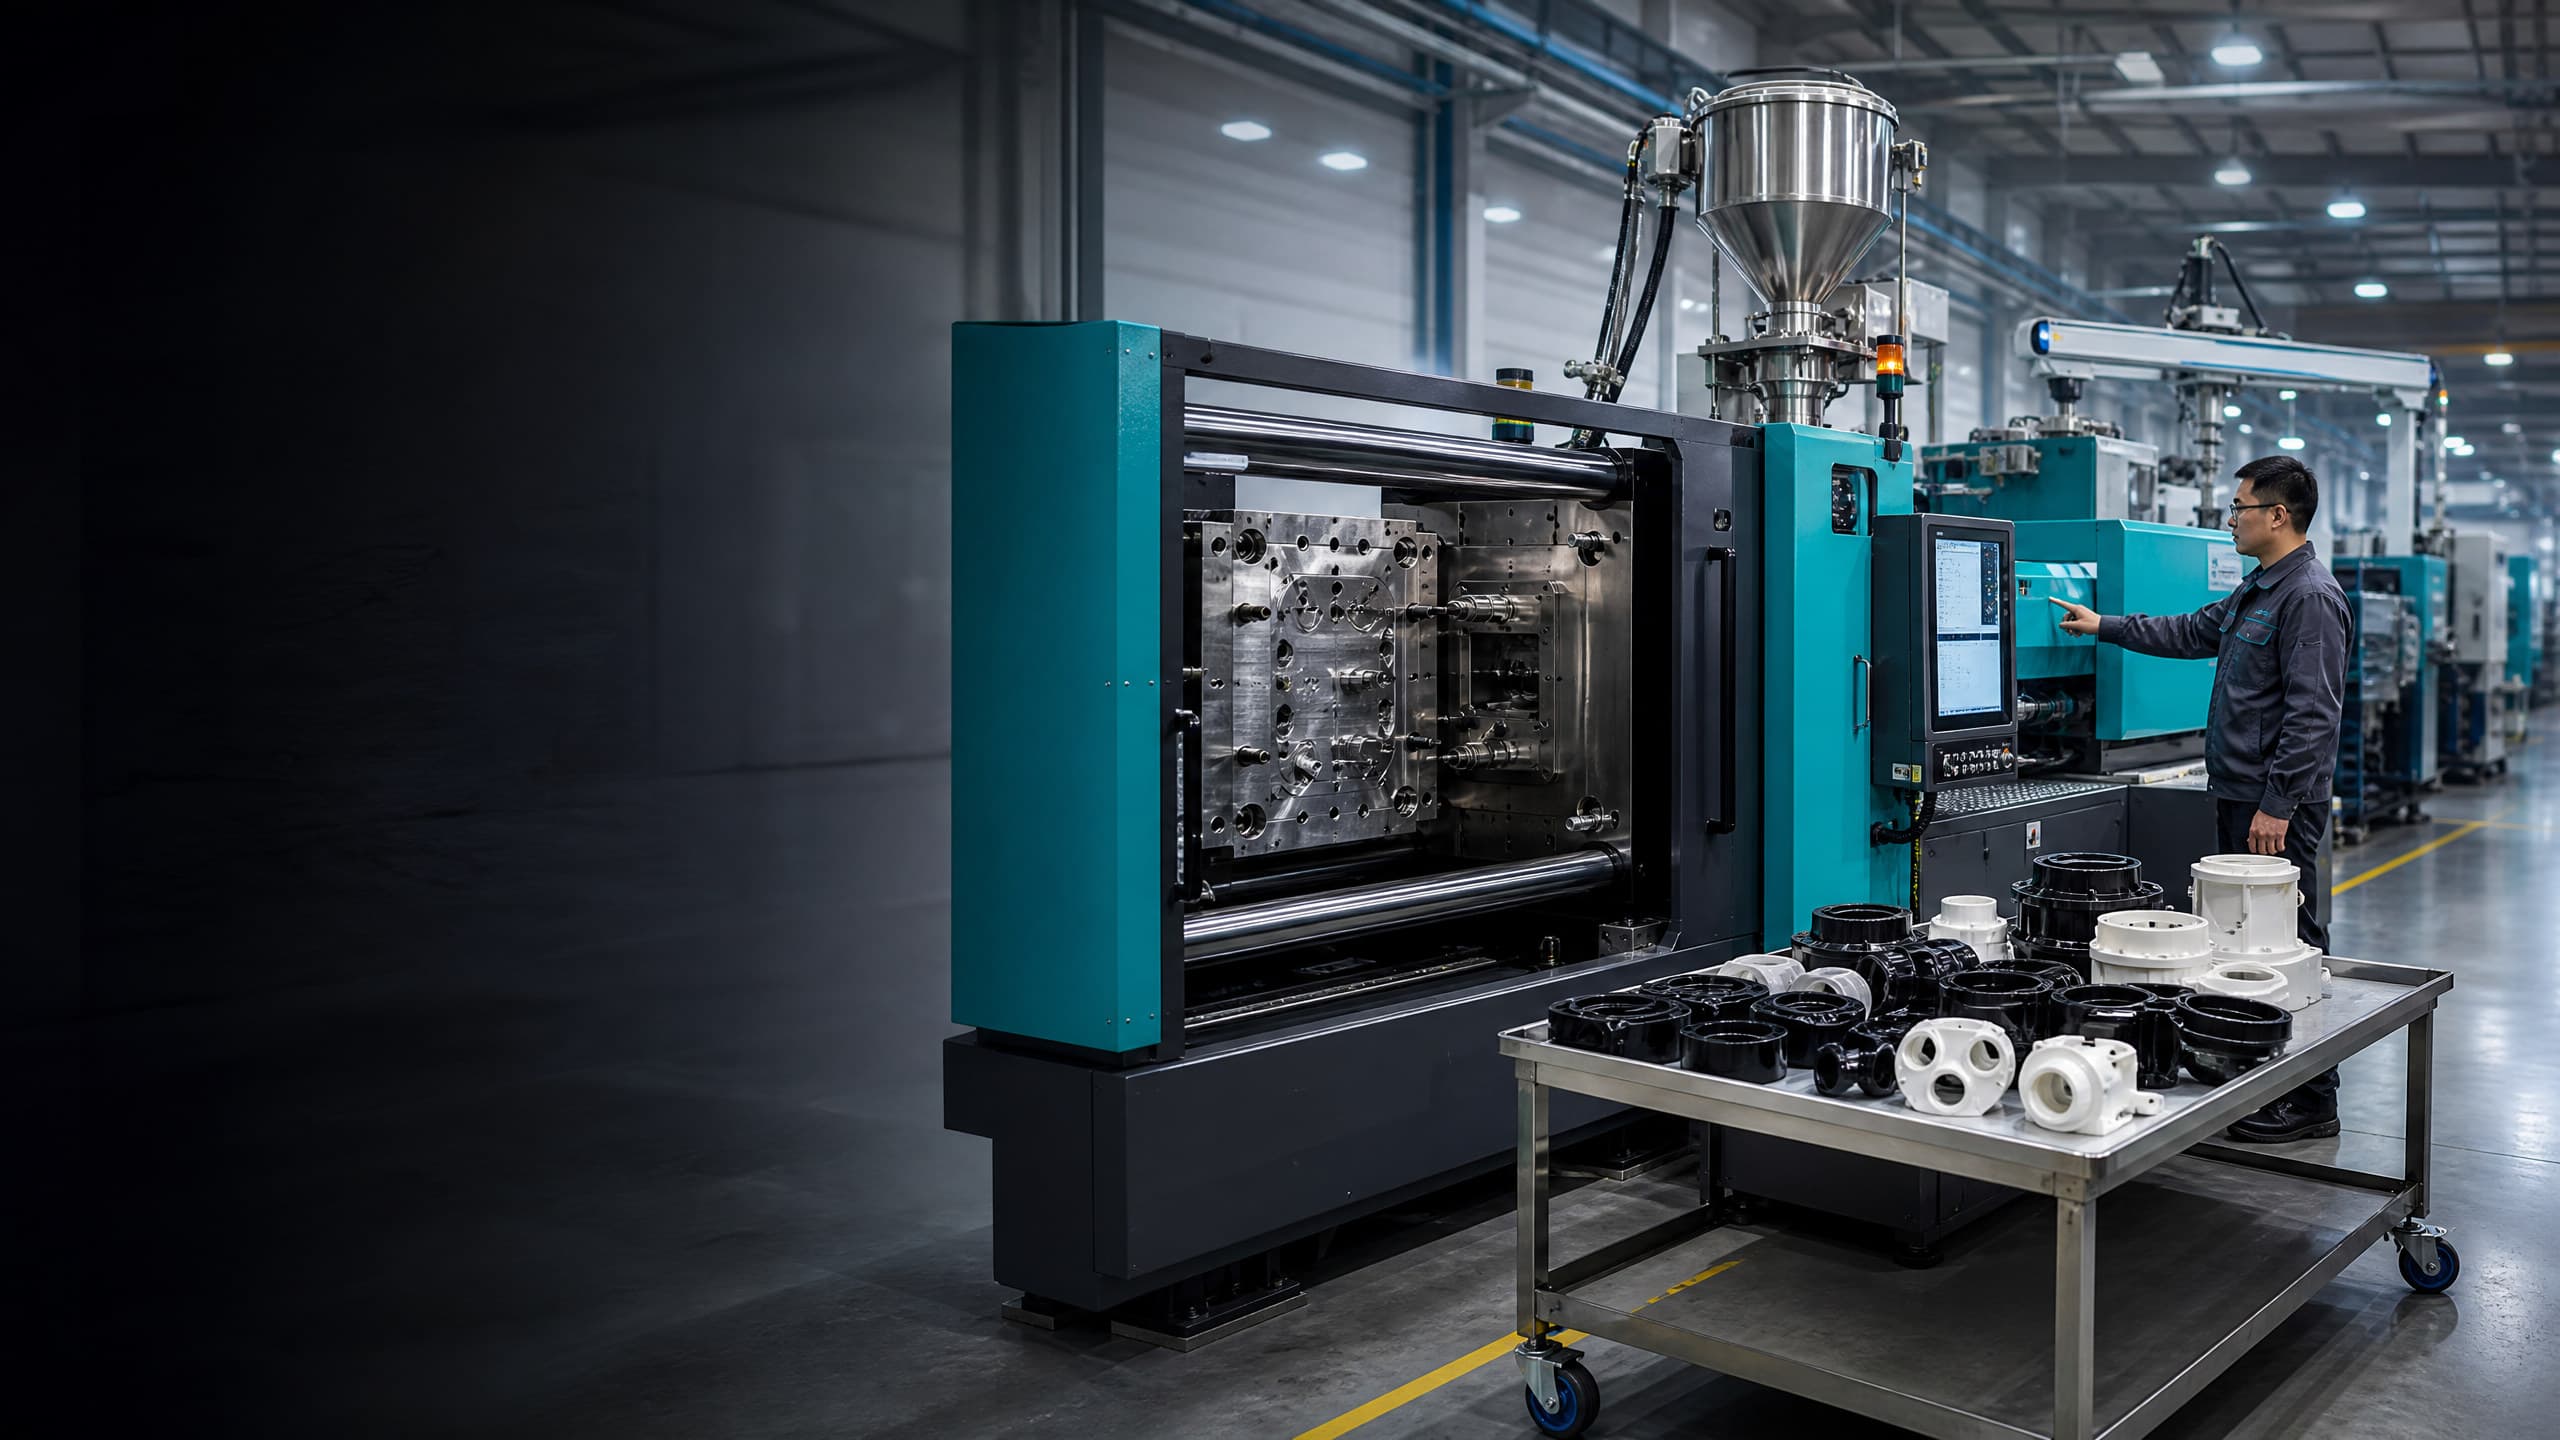
Choose metering and injection control for a small, stable shot
A conventional machine can suit some small parts, but compare its injection-unit range with the part, runner and cushion requirement. When a shot is a very small fraction of that range, changes in recovery, residence time or decompression matter more.
Request the proposed screw or plunger arrangement, shot-volume range, injection rate and pressure, transfer control, cushion target and barrel/nozzle zones. A plunger-style or purpose-designed micro unit may meter differently from a general-purpose reciprocating screw; prove suitability on the actual material and tool.
Material handling belongs in the review. Define drying conditions for hygroscopic resins, residence-time limits for heat-sensitive grades, permitted regrind, lot segregation and purge controls. Filled or high-temperature polymers may also change wear, flow and tool-temperature needs.
03
Calculate clamp force, then avoid using tonnage as a quality shortcut
Injection molding press capacity includes more than injection molding machine tonnage. Clamp force must resist separating force from cavity pressure over the projected area of every cavity and cold runner. RJG notes that the calculation should include parts and cold runners, and that material guidance is only an estimate [1]. A micro part can have little projected area yet high flow resistance.
Request a projected-area calculation, cavity-pressure basis and operating clamp setting. Trial evidence such as part weight, flash onset, cavity-pressure traces or mold-deflection observations is more useful than a tonnage number. Excess clamp can close vents and harm parting surfaces; insufficient force can permit separation and flash [1].
Also verify mold fit at an appropriate clamp setting, with repeatable platen support. Explain setup protection and any verification needed after a press transfer. Do not fix press size before the tool concept and projected area are known.
| Buyer comparison point | What to verify | Why it matters for micro molding | Useful evidence |
|---|---|---|---|
| Shot and metering range | Part-plus-runner mass, cushion, injection-unit range | Small shots magnify variation | Shot calculation and trial records |
| Injection response | Fill rate, pressure, transfer and repeatability | Fine gates may freeze early | Setup sheet and sampled process data |
| Clamp and mold interface | Projected area, pressure basis, platen/tie-bar/daylight fit | Prevents flash and poor fit | Clamp calculation and interface drawing |
| Thermal and material control | Drying, residence time, barrel zones, mold circuits | Viscosity shifts move dimensions | Handling plan and temperature records |
| Handling and inspection | Removal, orientation, contamination and measurement method | Parts can be damaged or measured unreliably | Handling and inspection plan |
04
Build dimensional stability into the tool-and-process review
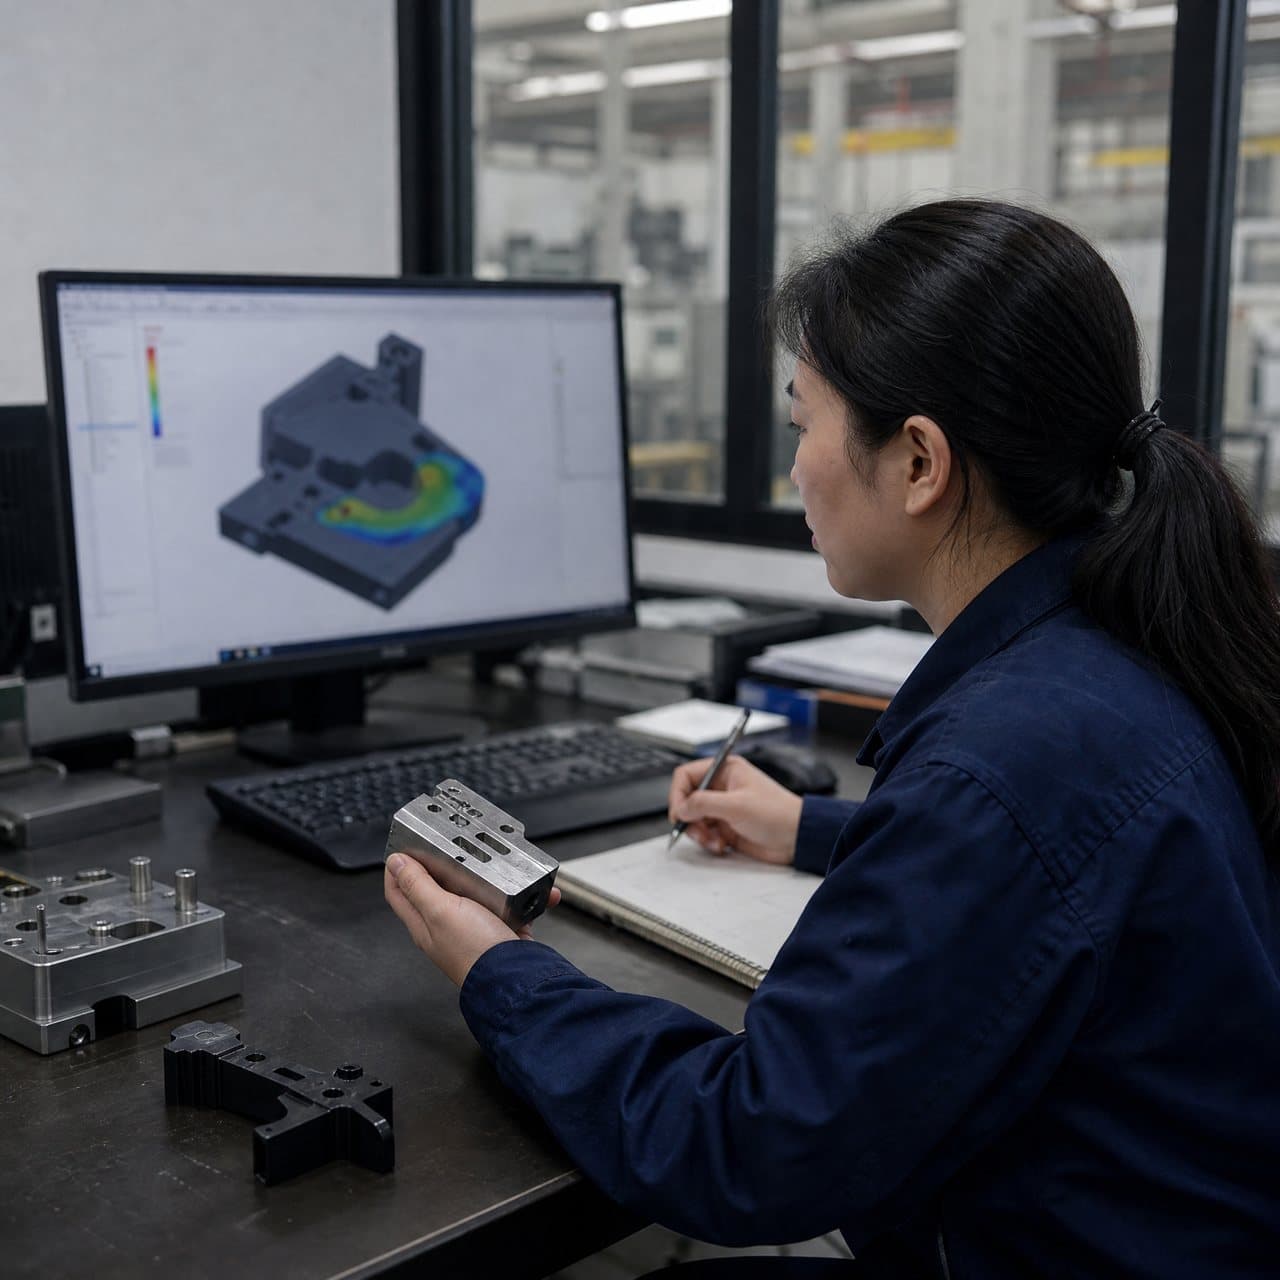
Micro features are sensitive to melt temperature, injection pressure, injection velocity, mold temperature and packing. An ASME study of POM and liquid-crystal polymer microchannels found melt temperature and injection pressure most influential among its tested factors; higher settings also increased flash in many cases [2]. Require a development plan that balances replication, flash, stress and dimensions for the actual resin and geometry.
Ask the team to identify feature-specific risks: premature gate freeze, trapped air, inadequate venting, unequal cooling, core deflection and ejection distortion. A single-cavity trial can expose mechanisms before a multi-cavity commitment. For multiple cavities, require cavity-identified results.
State whether dimensions are accepted as molded, after a defined stabilization period or after stated conditioning. Record datums, sampling locations, measurement conditions and an instrument method suitable for the tolerance. NIST identifies SI traceability as central to precise length measurement [3].
05
Use automated handling only when it protects the part and the evidence
Automated injection molding can improve consistency when it removes variable handling, protects cosmetic surfaces or enables traceability. It is not necessary for every miniature part. Select a robot, conveyor, camera or nest around stiffness, gate removal, static sensitivity, cleanliness and inspection rate.
Ask where the part lands after ejection, how it is detected, whether it can stick to a core or runner, and how rejects are separated. For vision inspection, define measurable features, fixturing, lighting, known error limits and escalation. Automation cannot compensate for an unstable molding process.
For cross-border programs, agree lot records in advance: resin identity, machine and tool identifier, approved process range, cavity identity where applicable, inspection results, nonconformance treatment and change notification. This keeps evidence comparable across repeat runs or transfers.
06
Ask for a machine-specific trial and approval package
A credible supplier collaboration starts before steel is cut. Review CAD, resin, gate and ejection concept, then ask why the proposed machine class fits the shot, mold interface and risks. Keep alternatives open until tool design and trial data confirm the assumptions.
For first samples, request machine ID, resin and lot record, key setpoints and a dimensional report against agreed datums. Where a dimension is near a limit, request values and method, not a pass statement. Define revalidation before a press transfer.
Tool life and output are program requirements, not tonnage attributes. They depend on resin abrasion, gate and shutoff design, steel, maintenance, cavity count, cycle performance and process window. Request the supplier's documented assumptions rather than an unsupported lifetime or capacity claim. Send your CAD, drawing, resin and forecast in an RFQ to request a part-specific machine, mold and evidence review.

Practical takeaway
Before you move
to the next review.
- Provide CAD, a dimensioned drawing, functional datums and marked critical micro features before a machine recommendation.
- Confirm the injection unit can operate stably at the calculated part-plus-runner shot with an appropriate cushion.
- Request the projected-area and cavity-pressure basis for clamp force instead of choosing headline tonnage.
- Review nozzle, platen, tie-bar, daylight, ejector, utilities and removal compatibility between mold and press.
- Agree resin grade, drying, regrind policy and conditioning state for dimensional acceptance.
- Require a trial plan linking fill, pack, cooling, venting and ejection to measured critical features.
- Define inspection datums, method, cavity sampling where needed and approval-sample records.
- Approve any handling automation for part protection, orientation, traceability and reject segregation.
FAQ
Common questions
Is a lower-tonnage press always better for micro injection molding?
No. Match clamp force and mold interface, but also control the small shot. Metering, injection response, thermal control, venting and inspection evidence matter as much as tonnage.
Can a standard injection molding machine make a micro part?
Sometimes, if its injection unit can control the shot and the mold, resin and feature risks are compatible. Confirm it in a part-specific trial.
What tolerance should I specify for a micro molded feature?
Specify the functional tolerance, then assess it against resin behavior, geometry, process window and measurement capability. Do not assume one tight value is feasible everywhere.
What evidence should accompany micro molding samples?
Request resin, machine and mold identification, key process settings, sample condition, dimensional results against agreed datums, measurement method and cavity identity when relevant.
When does automated injection molding add value for a micro part?
When controlled removal, orientation, damage prevention, cleanliness, inspection flow or traceability is needed. Validate automation as part of the cell.
References
Source material
- [1] RJG: Clamp Force: Why It’s Vital to Your Injection Molding Process and How to Calculate It
- [2] ASME Journal of Micro and Nano-Manufacturing: Process Parameter Effects on Dimensional Accuracy of Micro-Injection Moulded Part
- [3] National Institute of Standards and Technology: Dimensional Metrology Group
This guide is general information for early procurement and engineering discussion. It does not replace product-specific DFM, qualification, validation, regulatory assessment or legal advice.